
Happy Monday! I'm not going to lie, I had absolutely no idea what today's post would be when I woke up but I am SO happy with how this turned out!
I am absolutely obsessed with everything about Jessie James Decker. If you don't know who she is or don't follow her on Instagram do yourself a favor and follow her. She is so talented, gorgeous, an amazing mama, and has the best head of hair I've ever seen. She is everything goals. Anyway, her ponytails have always given me life so this is my version of her voluminous pony, but with a rose gold twist.

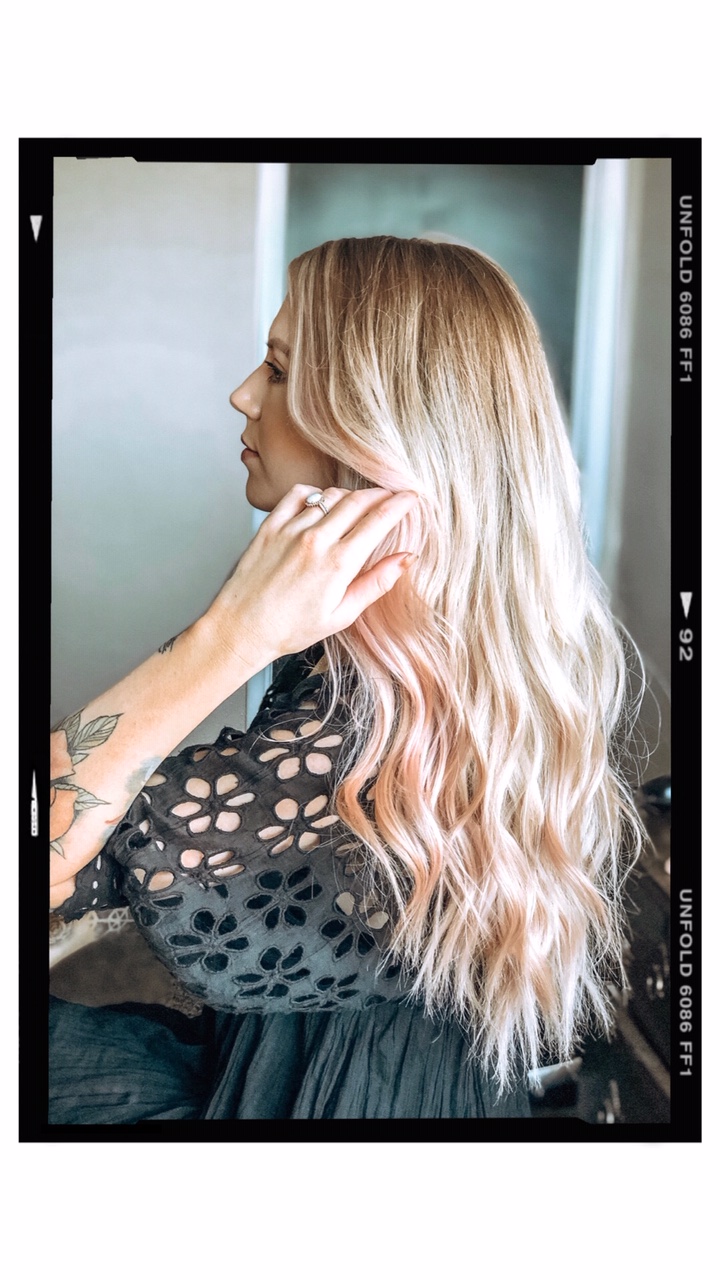
This first step is optional, I just love to add extensions and a pop of color for fun!
1. The first thing I did was wash my hair and apply the Kristin Ess Rose Gold Temporary Tint in the shower. This only works on very blonde hair. If you have blonde pieces in your hair those will pick it up, but anything darker than a honey blonde will not pick it up. I followed the instructions on the back, and followed the steps she recommends if you want the color very pastel. I didn't want anything too dramatic. I then followed the same steps with 3 wefts of my clip- in extensions. I use the Barefoot Blonde Hair classic set in the shade Honey Butter. If you have thin hair and only want extensions for when you wear your hair up, they have a piece called Barefoot Blonde Up that is great for ponytails and buns. If you have short hair they have a set called Barefoot Blonde Fill-ins that are perfect for adding fullness to a shorter ponytail.
2. Start off with a messy, full wave. I typically like to do this style on second or third day curls, the day before I decide to wash it again. If you don't know how to achieve a messy everyday wave, see my previous tutorial. If you aren't using clip in extensions, skip to step 5.

3. Section the hair, starting close to the neckline. This first weft I clip upside down, with the clips attached to the section above it. This helps disguise the clips when they are in the ponytail so they aren't sticking out. It can be kind of intimidating at first but once you try adjusting the clips a few times it gets easier.


4. Section the hair into two more sections, keeping them as close to the middle of the head as possible. Since our pony will be in the center of our head that's where we want the length to be. When applying these wefts, just clip them in the way you normally would, clips facing down.

5. Section out the pieces around your face that you want to leave down. Clip them out of the way and gather the rest of the hair into a ponytail in the center of your head.

6. Release the front pieces. Go through and pull apart all of the hair at the crown, nape of the neck, and on the sides of your face. Try to loosen anything that is stuck to your head and create as much volume as possible. The messier, the better. Once you've loosened it up, grab the pony and tighten it to give it some lift.

7. Spray the ponytail with your favorite texture spray or beach spray. I'm still loving this one from Kristin Ess. I also spray a little bit on the front pieces for some separation.

8. Add your favorite scarf or hair accessory! I love this one, I believe it is from Revive Tan & Spa in Tulare. They also have some at Cotton On or Forever 21.

All done!


As always, thank you for reading and let me know what you would like to see!
lovelovelove,
Tanner
Love the hairstyle!
ReplyDelete