
Alright, the people have spoken, and according to the poll on my Instagram story most of you would like a tutorial on how to do extra long french braids. Honestly this look is so easy and simple but most of my favorite looks are. Most of the time when I spend a lot of time and effort on something it rarely gets noticed- the looks that I don't over-think I tend to get the most compliments on. The day that I originally did these braids I had curled my hair a couple of days prior, so it was in need of a style that would disguise the fact that it needed to be washed. You can do this look quickly with or without clip-in extensions, but the clip-ins are what make it stand out.
My favorite brand of clips- ins is Barefoot Blonde Hair. Amber Fillerup Clark is the creator, and she is easily my favorite blogger. She used to be a hairdresser and she creates the most beautiful colored, high quality seamless clip-ins that I've tried- and I've tried a lot. I will link her website and the color I'm using here.

1. Dry shampoo the roots if needed. Spray dry shampoo along the part and let it sit for a few minutes. Brush product into roots and rough it up a little. This is my favorite dry shampoo. It doesn't get too powdery on the root and smells amazing.

2. Spray texture spray throughout the ends of your hair. This creates more grip so it's easier to pull the braids apart. This is one of my favorite texture sprays. It smells amazing and I'm such a sucker for cute packaging.

3. Create a middle part and divide the hair into two sections. Section out the pieces that you want to stay out of the braids. Clip them out of the way. Separate one of the two halves with a rubber band or clip.


4. Add in the clip in extensions using half- moon sectioning. This looks intimidating but once you get the hang of it it's a breeze. I like to add 2-3 wefts starting closest to my ear and working my way up. The more hair you add, the thicker the braids. Don't worry about them showing, we will disguise them at the end.
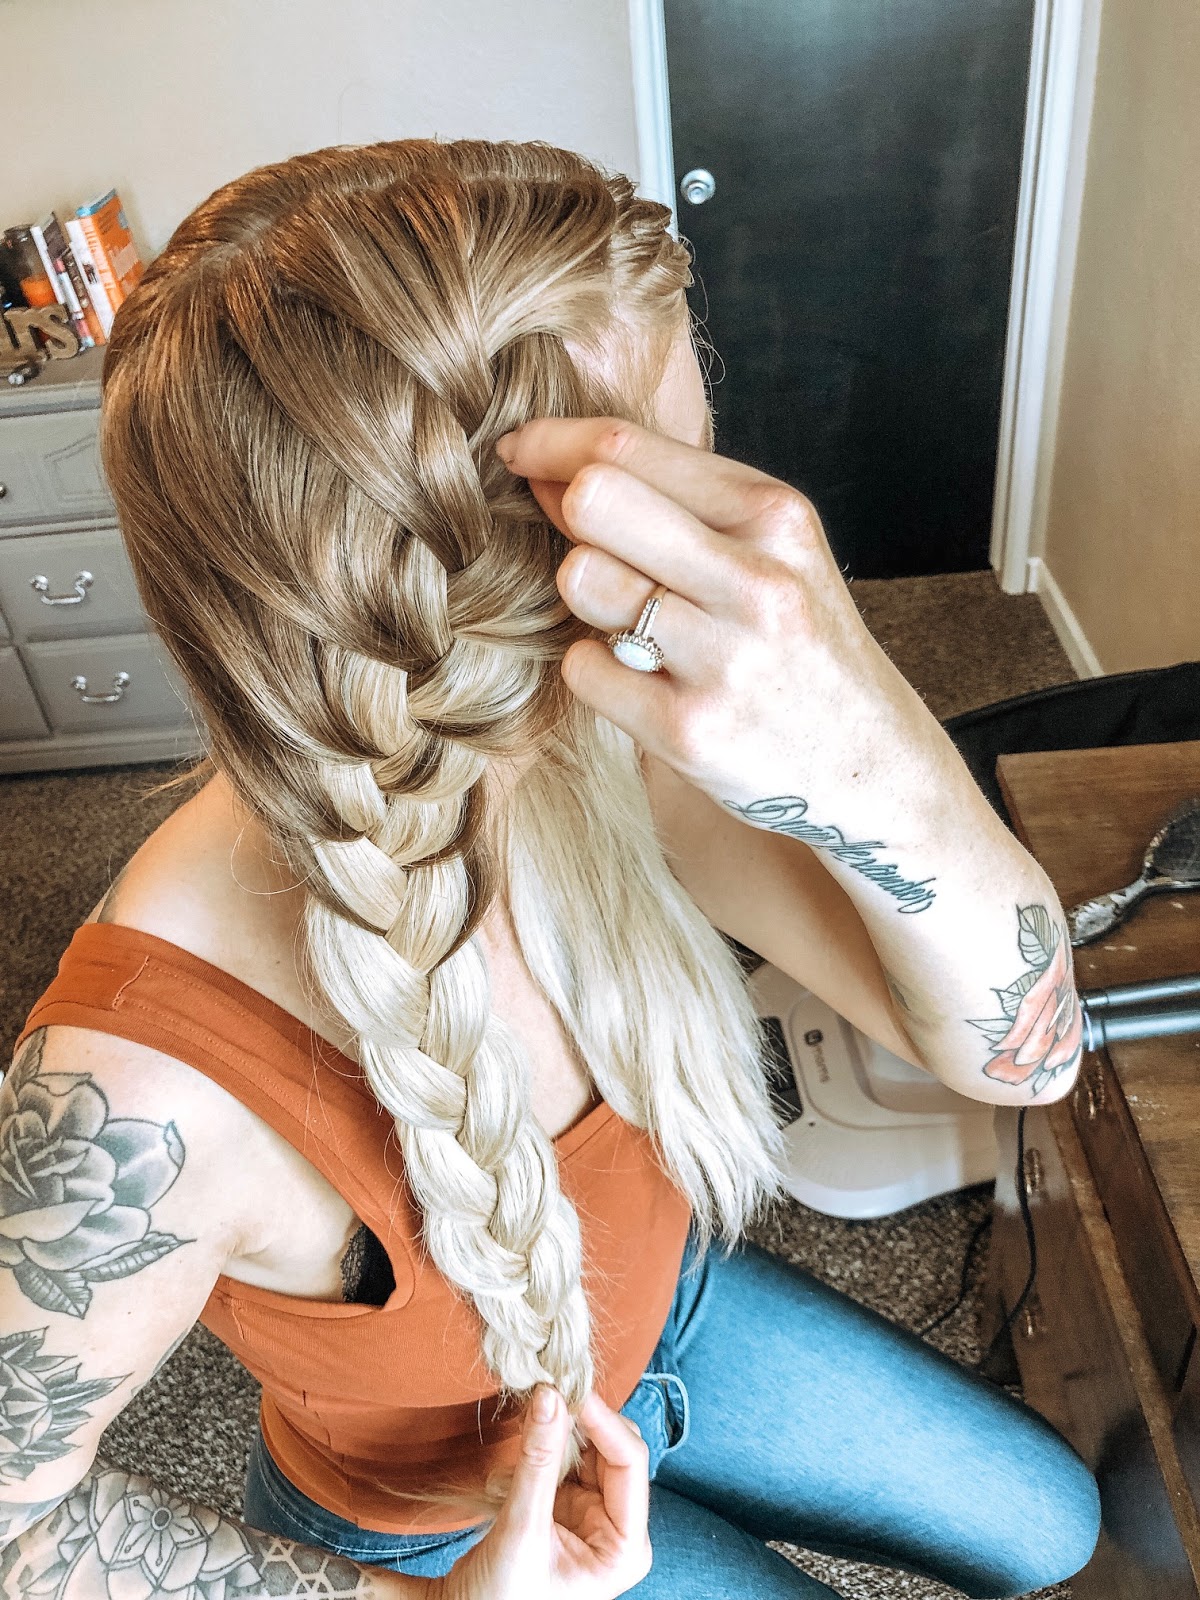
5. At the top of that half, begin french braiding straight down using a 2 inch section along the part line. If you don't know how to french braid, there is a great Youtube tutorial here. Practice makes perfect! Secure the braid with a clear elastic. I get a huge pack at Sally's for $2.

6. Begin pulling the braid apart from the bottom and working your way up. The more you pull it apart the better, in my opinion. This is what makes it look bigger and more messy. Check with a mirror to make sure the extension clips are hidden and that the back looks just as messy/ pulled apart as the front.

7. Repeat steps 4-6 on the other side.


8. Release the pieces that you want left out. Curl them with the curling iron of your choice. I like to use a 1 1/4" barrel and leave the ends of each piece out.
9. Separate the curls and spray with texture spray. Done!


Thank you for reading guys, this was SO fun! I hope it was helpful! If you have any questions or comments feel free to comment or DM me on Instagram. If you recreate this look and you learned it here I would love it if you tag me! I'll be back next Sunday with another post, as always comment or DM with content suggestions.
Lovelovelove,
Tanner
Cannot wait to try this out!
ReplyDelete